This guide will take you through the process of installing and configuring the TPS Single Sign On app for Schoology, allowing Teachers and Students to access the appropriate TPS resources directly through the Schoology system.
Step 1
In order to use the TPS Publishing SSO app for Schoology you will first need to obtain a license key from TPS. This key is provided to the school/district when purchasing materials. If you need help accessing this key or would like to discuss a purchase please contact [email protected]
Step 2
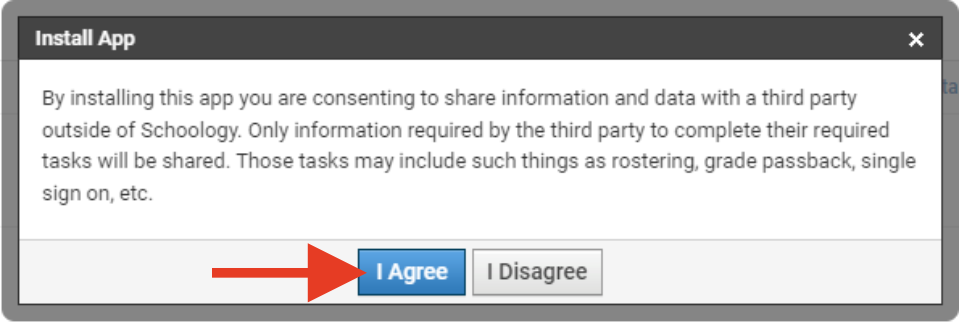
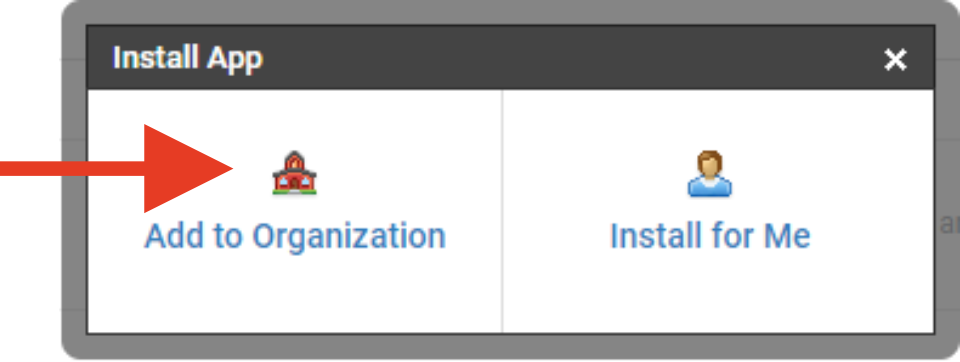
Once you have obtained your license key you will need to install the app for your organization in the Schoology system. Please ensure your school/organization account has the required privileges for this action:

Step 3
Before your users can start using the app, you will need to activate your license key and set user role permissions. In order to do this click ‘Configure’.
The Configuration screen will launch in a new window, but this can be blocked by some browsers/pop-up blockers. You may be prompted to manually ‘Launch App’ as shown below:


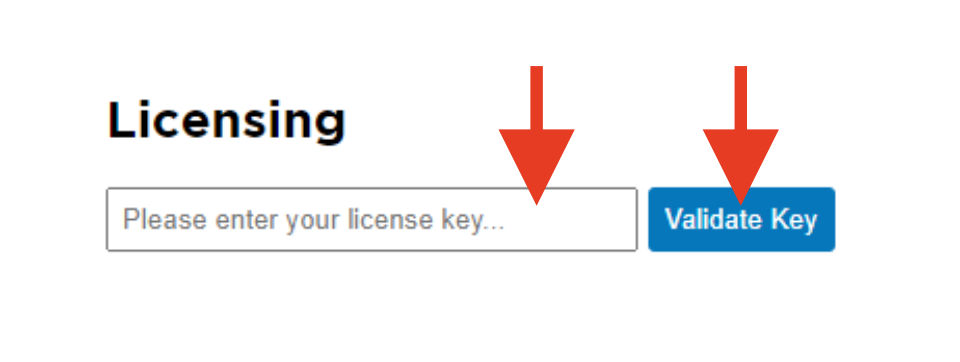
In the configuration screen, under ‘Licensing’ enter your license key and click ‘Validate Key’:
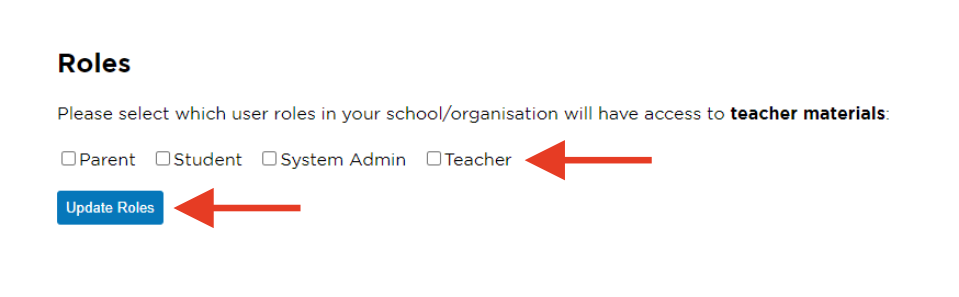
Then select which of your user roles will be granted access to the TPS ‘teacher’ resources, under the ‘Roles’ section, and click ‘Update Roles’:
Step 4
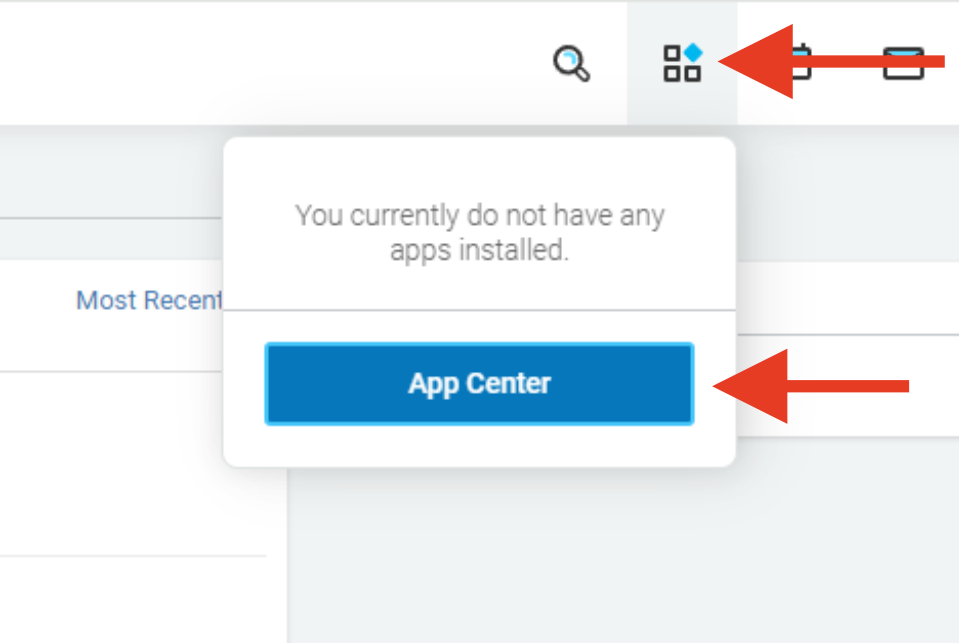
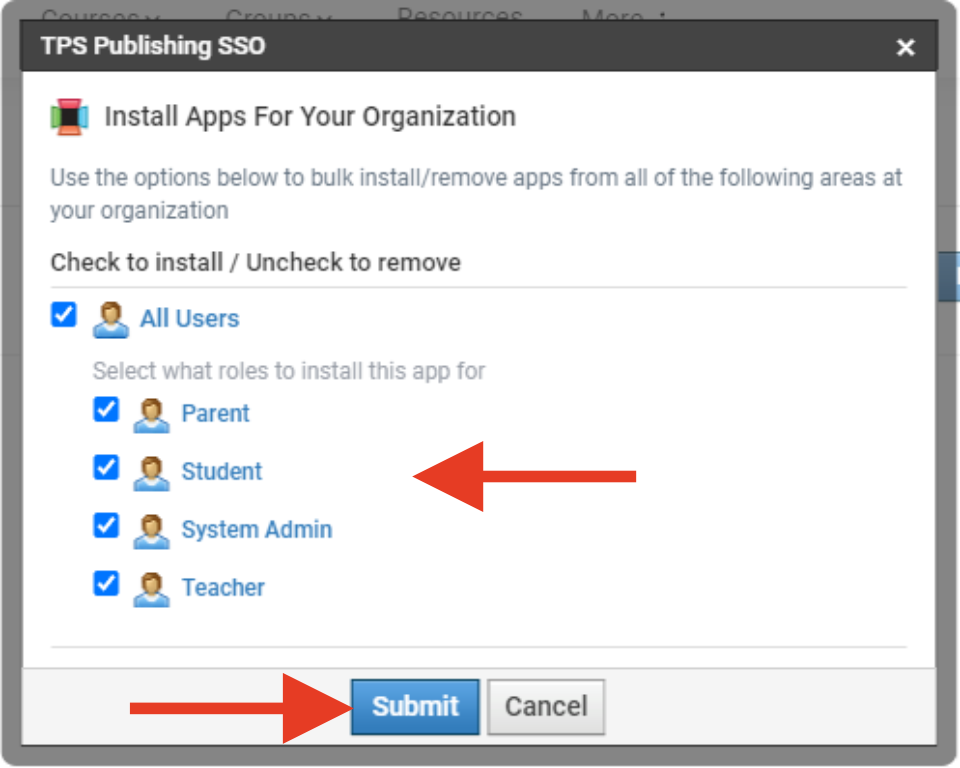
Now the app is configured and active, you can install it for your users:

Step 5
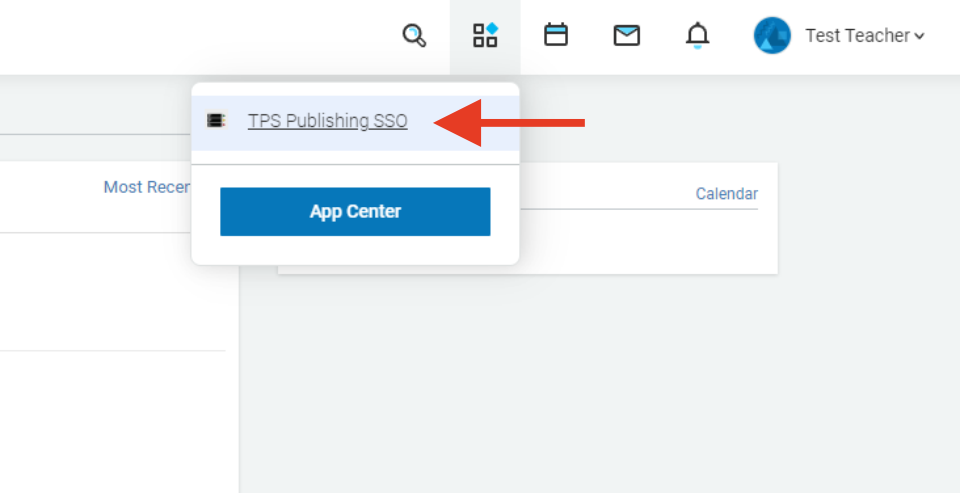
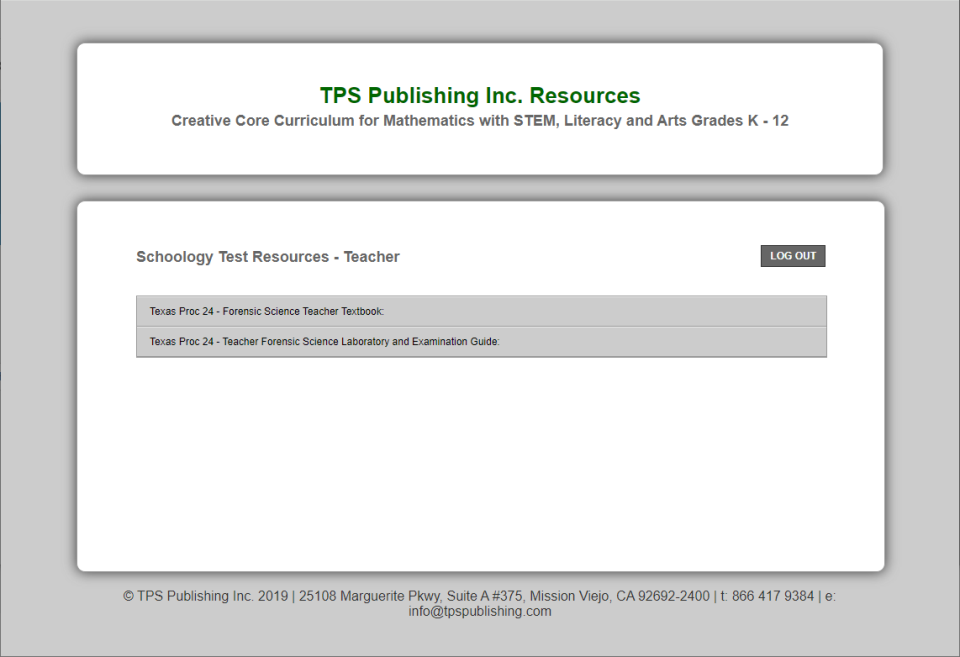
The installed app will now show in your users Schoology accounts, and when launched will automatically sign them in, to access the appropriate resources: